Jira is widely recognized for its robust project tracking capabilities with one of its key features being the workflow functionality, guiding the progression of tasks from initiation to completion. Therefore, it is crucial to understand how to view Jira workflow diagram.
Especially for project managers, team members, and stakeholders, it is a must. By knowing how to interpret a workflow diagram, they can track progress and identify bottlenecks.
This article provides a comprehensive guide to accessing and understanding Jira workflow diagrams. Let’s go!
What is a Jira workflow?
A Jira workflow represents the sequence of processes that an issue or task undergoes during its lifecycle. It is a critical component of project management within Jira, defining how tasks move from one state to another.
A typical workflow includes various statuses (like “To Do,” “In Progress,” and “Done“) and transitions, which are the actions taken to move tasks between these statuses. Workflows in Jira are customizable, allowing them to fit the unique processes of different teams and projects.
How to view Jira workflow diagram
Without any further ado, let’s discover how you actually view the Jira workflow diagram so all members can understand how to process their tasks.
1. Accessing Jira
To view a Jira workflow diagram, you first need to access your Jira account. You can start by visiting the Jira website and logging in with your credentials.
Once logged in, you can now navigate to the project where you wish to view the workflow. You can also do this through the main dashboard, where all your projects are listed.
2. Navigate the workflow settings
Within your project, locate the three-dot symbol. This is where you can find the dropdown menu and the “Manage workflow” option.

Keep in mind that this method is only viable for the admin of that Jira instance. For other members of the team, you can find the diagram workflow by going to a specific issue and clicking the issue status dropdown menu. Here, you will find the “View workflow” option.

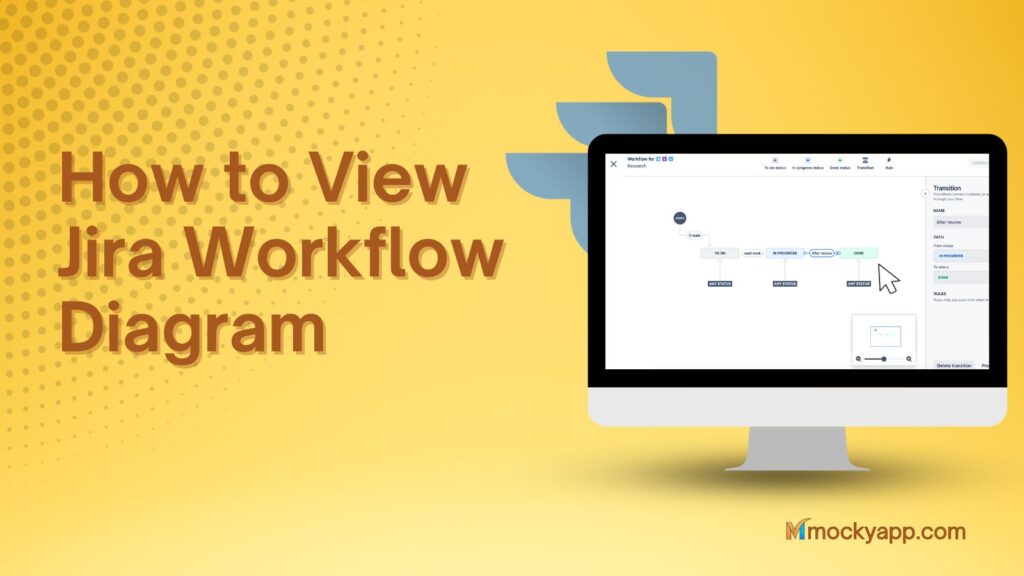
3. View and interact with the workflow diagram
In the workflows section, you’ll see a workflow diagram of your project uses. There will also be “Transition” tabs between issue statuses.
The workflow diagram in Jira is not just a static image; it’s an interactive tool. Each status and transition in the workflow is represented graphically.

By hovering over these elements, you can view more details, such as the conditions, validators, and post functions associated with each transition. Additionally, each transition represents what action is required for issues to move from one status to another.
As a result, this interaction helps in understanding the flow of tasks and any rules or conditions applied at different stages.
4. Edit the workflow (Optional)
If you have the necessary permissions, Jira allows you to edit workflows. This functionality is crucial when a workflow needs to be tailored to fit the evolving needs of a project.
To edit a workflow, you can select the edit option in the workflow’s detail view. You can then add, remove, or modify statuses and transitions. However, you should be cautious with these changes, especially in active projects, as they can impact ongoing tasks.
5. Use Atlassian apps for enhanced workflow visualization
While Jira’s native tools are quite powerful, the Atlassian Marketplace offers additional apps that can make viewing and understanding workflows easier and more intuitive. These apps often provide enhanced visualization features, like more detailed diagrams, color coding, and interactive elements.
To make an example, you can take a look at Mocky, Draw UI Wireframes, Mockup, Prototype & Diagrams for Jira. To use this app, users can go to the Atlassian Marketplace from their Jira instance, search for Mocky, choose the Jira version, and follow the instructions for installation and access.
We will discuss more about you can use Mocky to view Jira flowcharts or workflow diagrams.
6. Troubleshoot common issues
Occasionally, you may encounter issues accessing or viewing the workflow diagram. Common problems include not finding the workflow or lack of necessary permissions.
If you face such issues, you should verify that you are looking for the correct project and have the appropriate access rights. On the other hand, you should reach out to a Jira administrator or consult Atlassian’s support resources is advisable if problems persist.
How to use Mocky to Jira workflow diagrams
As mentioned above, you can also use Mocky to view your Jira workflow diagram. A good thing about using Mocky is that its workflow diagram will also be visible in the issue you want to insert this diagram into.
In other words, you don’t have to manually go into the Jira workflow tab to see this diagram or flowchart.
1. Install the Mocky app for Jira
First thing first, you need to install Mocky to use this for your Jira workflow diagram.
You can find it easily by searching for Mocky on the Atlassian marketplace. For more information about how to install the app, you can find it here.
2. Access Mocky
You can either access the Mocky app via the Apps tab located on the header, or you can click on that issue and click “Open Mocky App” in the right column.

3. Start making your Jira workflow diagram or flow chart
Once inside the app, you can now start creating your Jira flowchart. This should be quick and easy as you only need to draw some simple steps or levels to visualize how tasks should progress in your project.
4. Insert the workflow diagram into the Jira issue
If you are happy with the diagram, you can now close the app and head back to your Jira issues. Here, you can simply insert this flowchart to any issue you want to visualize and view the diagram.
For a detailed guide on how to insert diagrams (or any designs) from Mocky to Jira issues, you can watch our short demo video below.
And that’s it. Now you have a Jira workflow diagram ready to be viewed at any time. Some advantages you can get from Mocky’s flowchart for Jira are that you won’t have to go deep down to the Jira workflow to view it.
Additionally, changing the workflow won’t affect your current issues attached to such workflow statuses.
Final thoughts
Understanding how to view Jira workflow diagram is fundamental to effective project management. By following the steps outlined above, you can view and interact with workflow diagrams, gaining insights into the process flow of your projects.
Additionally, leveraging Atlassian Marketplace apps can further enhance this understanding. As you become more familiar with Jira workflows, you can explore further customizations and features to optimize project management within your organization.