Confluence, by Atlassian, is a collaboration tool used to help teams collaborate and share knowledge efficiently. It allows you to create, share, and collaborate on projects all in one place. An essential feature is its ability to add diagram to Confluence pages, aiding in the visualization of data, workflow, and process.
Unfortunately, you cannot simply add diagrams to your Confluence, Atlassian does not support that just yet. However, users can take advantage of some apps available on the Atlassian Marketplace to do that instead. And that is where Mocky for Confluence comes in.
Mocky is a powerful solution that can help you with wireframing, diagramming, mockups, and many more. With it, you can effortlessly insert your designs, or diagrams, into Confluence pages.
Easy steps to add diagram to Confluence page
Without any further ado, let’s take a look at how you can use Mocky to add diagrams to your Confluence.
1. Install Mocky to add diagram to Confluence
First, you will need to install the Mocky app. From your Confluence, locate the Apps tab on the header and choose Find more apps. Then, you can type Mocky in the search box and install the app.

For more information, you can read more about how to install Mocky.
2. Access the diagramming tool
Once you have successfully installed Mocky, you can now access the app to start drawing diagrams. To do it, you can go back to your Confluence dashboard and go to the Apps tab again.
This time, you will now see Mocky in the dropdown menu.

3. Create diagrams
After going into the Mocky app, you can start creating your diagram for Confluence. From the Mocky’s project list, you can click Add project to create a new design.
If you are completely new to this, you can follow the steps below to get a better head start.
3.1 Choose a type of diagram
There are many types of diagrams that you can use to visualize your project or ideas. Depending on your project’s purposes and goals, you can decide which type to draw.
3.2 Start from scratch or use a prebuilt template
Once you have decided on the diagram type you need, you will go on to drawing one, starting with a component. In Mocky, you can create a diagram using shapes, flowcharts, UML, and many more.
As you can expect, you can start everything from scratch and customize diagrams to your preference. However, Mocky also offers prebuilt templates to make your work easier. It will empower you to create stunning diagrams with only a few clicks.

Currently, the Templates feature and UML diagrams are limited to the premium version of Mocky only. So, you will need to upgrade your plan in order to access these specialized features.
3.3 Add shapes and text to your diagrams
You can start by dragging one of these components into the canvas. Next, you can continue diagramming by clicking that component and moving your cursor on the arrow around that component.
There will also be suggestions of the next shapes or components that you want to draw in your diagram. Simply click on one of the suggestions and a new component will be added.
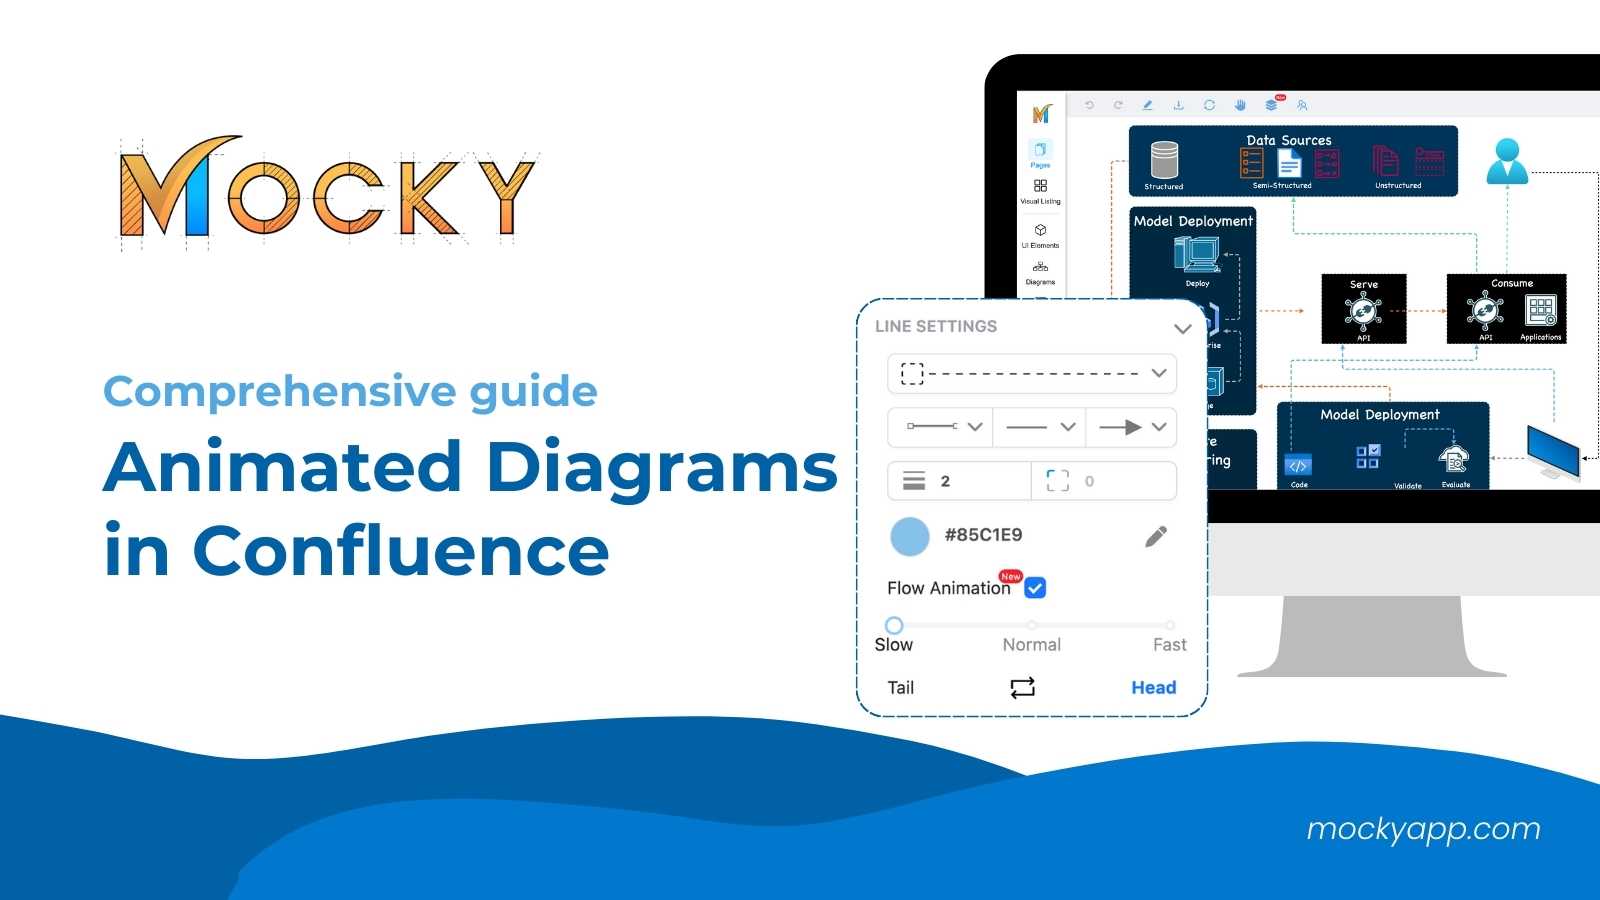
Additionally, you can utilize this drag-and-drop feature to add more shapes, lines, and text to your diagram. Besides, you can also customize your shapes, lines, and text according to your preference, adjusting the size, color, and font as necessary.
More importantly, can change the style of connectors among components in your diagrams to suit your needs.
4. Save your diagram designs
After completing your diagram for Confluence, you should save it to avoid losing any changes you made to the design. With Mocky, the app will automatically save any changes you made to your diagram in exchange for a small amount of time to complete the process.
Moreover, you can also get revisions of your diagram project while working on it. This is called the Revision History feature.
As you expect, this feature will automatically save your designs at different stages according to set time durations, allowing you to go back to your previous designs to compare the changes from one to another.
5. Add diagram to Confluence pages
Once you are happy with your diagrams, it’s time to add them to your Confluence page. It’s relatively simple, and all you have to do is follow the steps below.
- From your Confluence dashboard, go to the page where you want to add your diagram to. Or, you can create a new Confluence page if you are planning to work on a new page.
- Locate the Insert tab from the header, then find and choose Mocky.
- Now, you should see a Mocky popup showing your newly created diagram. Click on it and choose Open.
- At this step, you can make some final touches to your diagrams until it is perfect.
- Once done, locate the Publish button on the top right corner to add diagram to Confluence page.
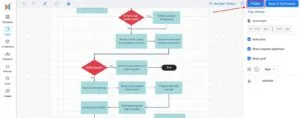
And that’s it. Next, you can click Back to Confluence to view your diagram on the designated Confluence page.
Helpful tips when adding diagrams to Confluence
Besides the steps to add diagram to Confluence above, we also want to provide you with some tips to make your diagramming experience better.
1. Use Confluence macros
Confluence offers various macros to help you embed existing diagrams, charts, or other graphical content. You can utilize the ‘/’ command followed by the name of the macro (in this case, it’s Mocky) to search and insert the desired content directly.
Additionally, you can use this command to insert your diagrams to the Confluence page as well.
2. Adjust diagram size and position
Additionally, you can adjust the size and position of your diagram by clicking on it and dragging the corners or edges to your desired dimensions. As a result, you can freely align your diagram within the page as needed.
3. Preview diagrams before publishing
Before publishing or sharing the Confluence page, you should preview it to ensure that your diagram is displayed correctly and that all information in your design is accurate.
4. Utilize diagram legends
Consider adding a legend to your diagram to explain symbols, colors, and lines. Legends help in making diagrams more understandable to the viewers.
Conclusion
It is a straightforward process to add diagram to Confluence pages, and it brings great benefits to your organization. It can greatly enhance the understanding and visualization of the content.
By selecting the appropriate diagram tool, creating and customizing the diagram to suit your needs, and saving it correctly, you can efficiently incorporate visual elements into your Confluence pages. And remember to regularly review and update your diagrams as your project evolves to maintain accuracy and relevance.